
You are reading the Icon Map Pro documentation for version 1.1.0.11, which has not been released yet. Go to the latest version (1.1.0.10).
Purchasing
Icon Map Pro can be bought per user through Microsoft AppSource, or as a usage-based, capacity or enterprise license from Icon Map. This page shows where to buy each and walks through the AppSource purchase.
Ways to buy
| License | What it covers | Where to buy |
|---|---|---|
| Per user | Each user needs their own license to edit or view reports | Microsoft AppSource |
| Usage-based | Unlimited users. Based on the number of times data is loaded into the visual | The Icon Map customer portal. See buying a license in the portal |
| Enterprise | Unlimited usage for all users on a Fabric capacity or across the enterprise | Contact sales@tekantis.com |
Pricing and details of each plan are on the pricing page. Not sure which you need? See License types.
GCC and regional clouds
Do not buy per user licenses through AppSource for US government (GCC) or regional cloud tenants. Microsoft cannot validate them there. Contact sales@tekantis.com instead.
Buy per user licenses in AppSource
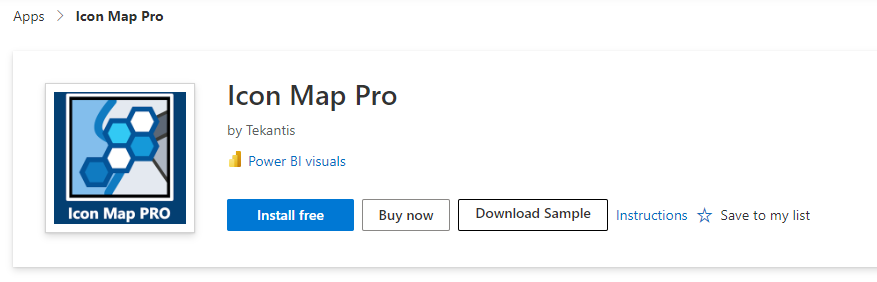
- Open the listing. Go to Icon Map Pro on Microsoft AppSource and select Buy Now.
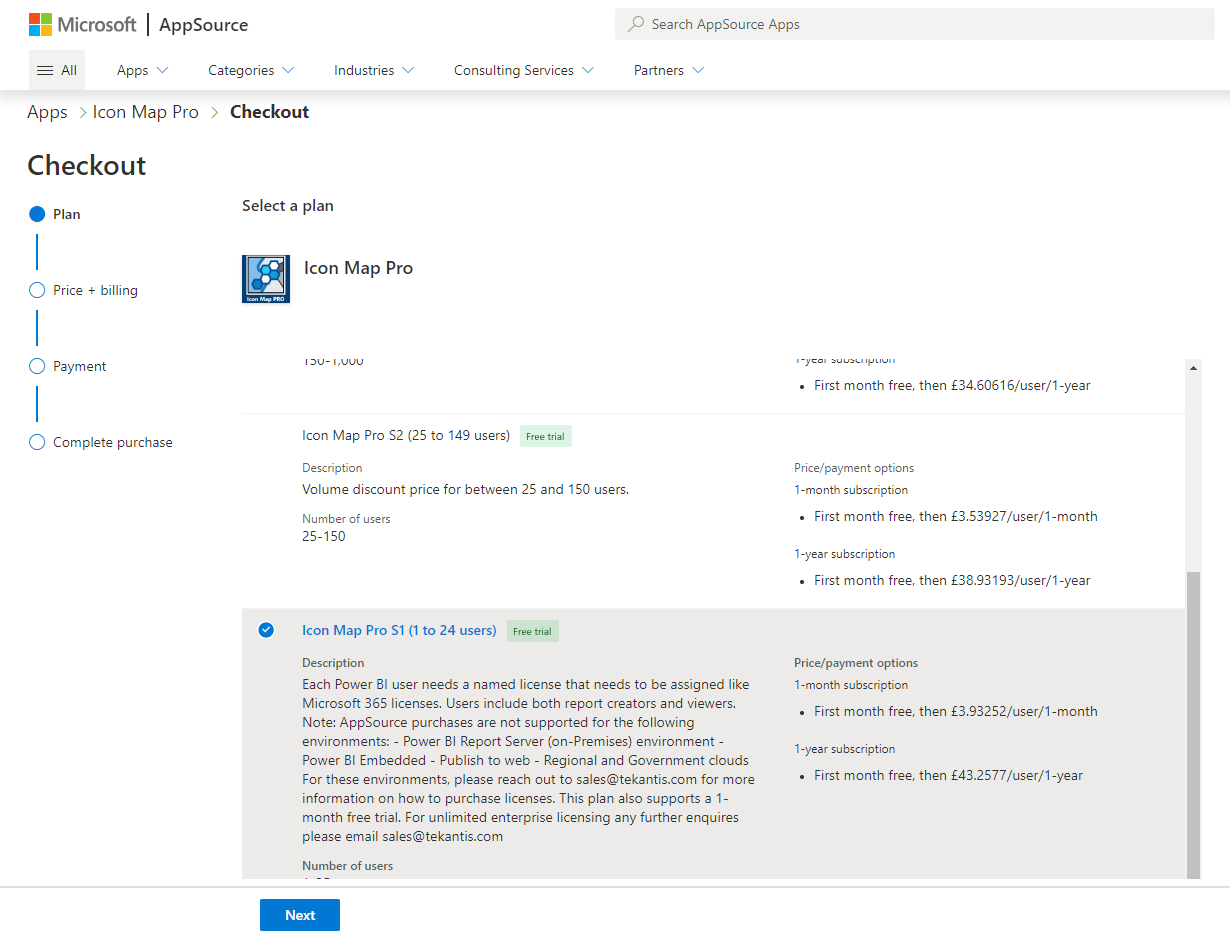
- Choose a plan. Select the plan for the number of users you are buying for, then select Next. For example, for 30 users select Icon Map Pro S2.
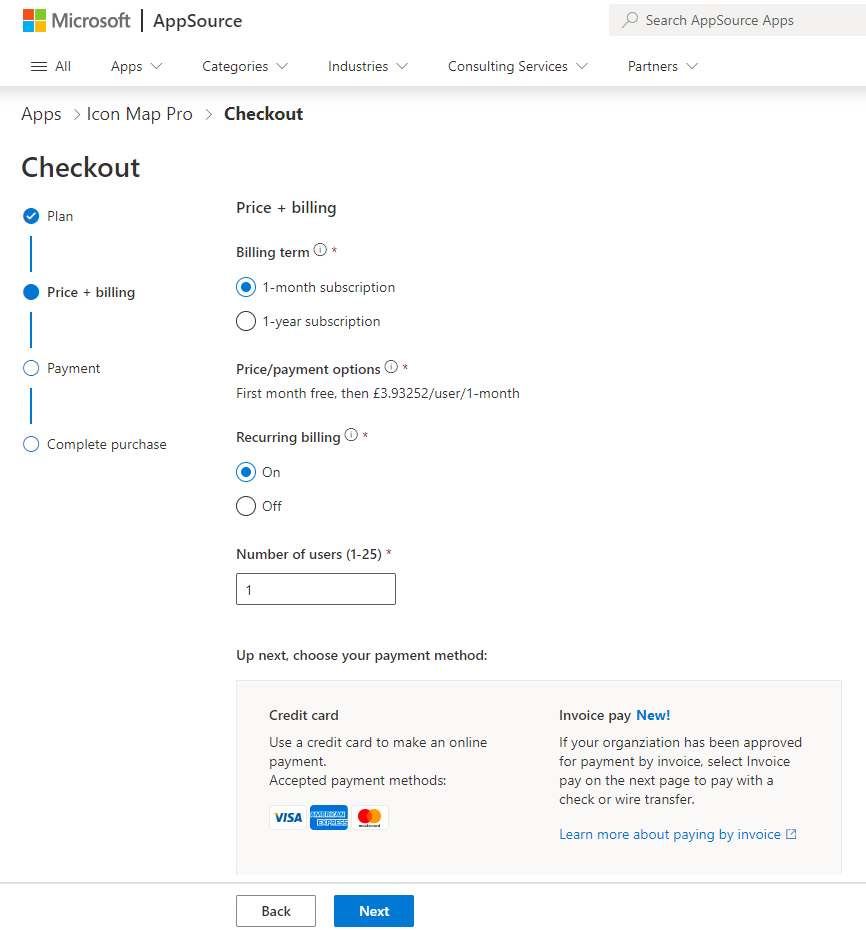
- Choose price and billing. Choose to pay monthly or annually, and enter the number of users. Annual billing is discounted. Recurring billing is recommended, especially for monthly purchases, so that the license does not expire.
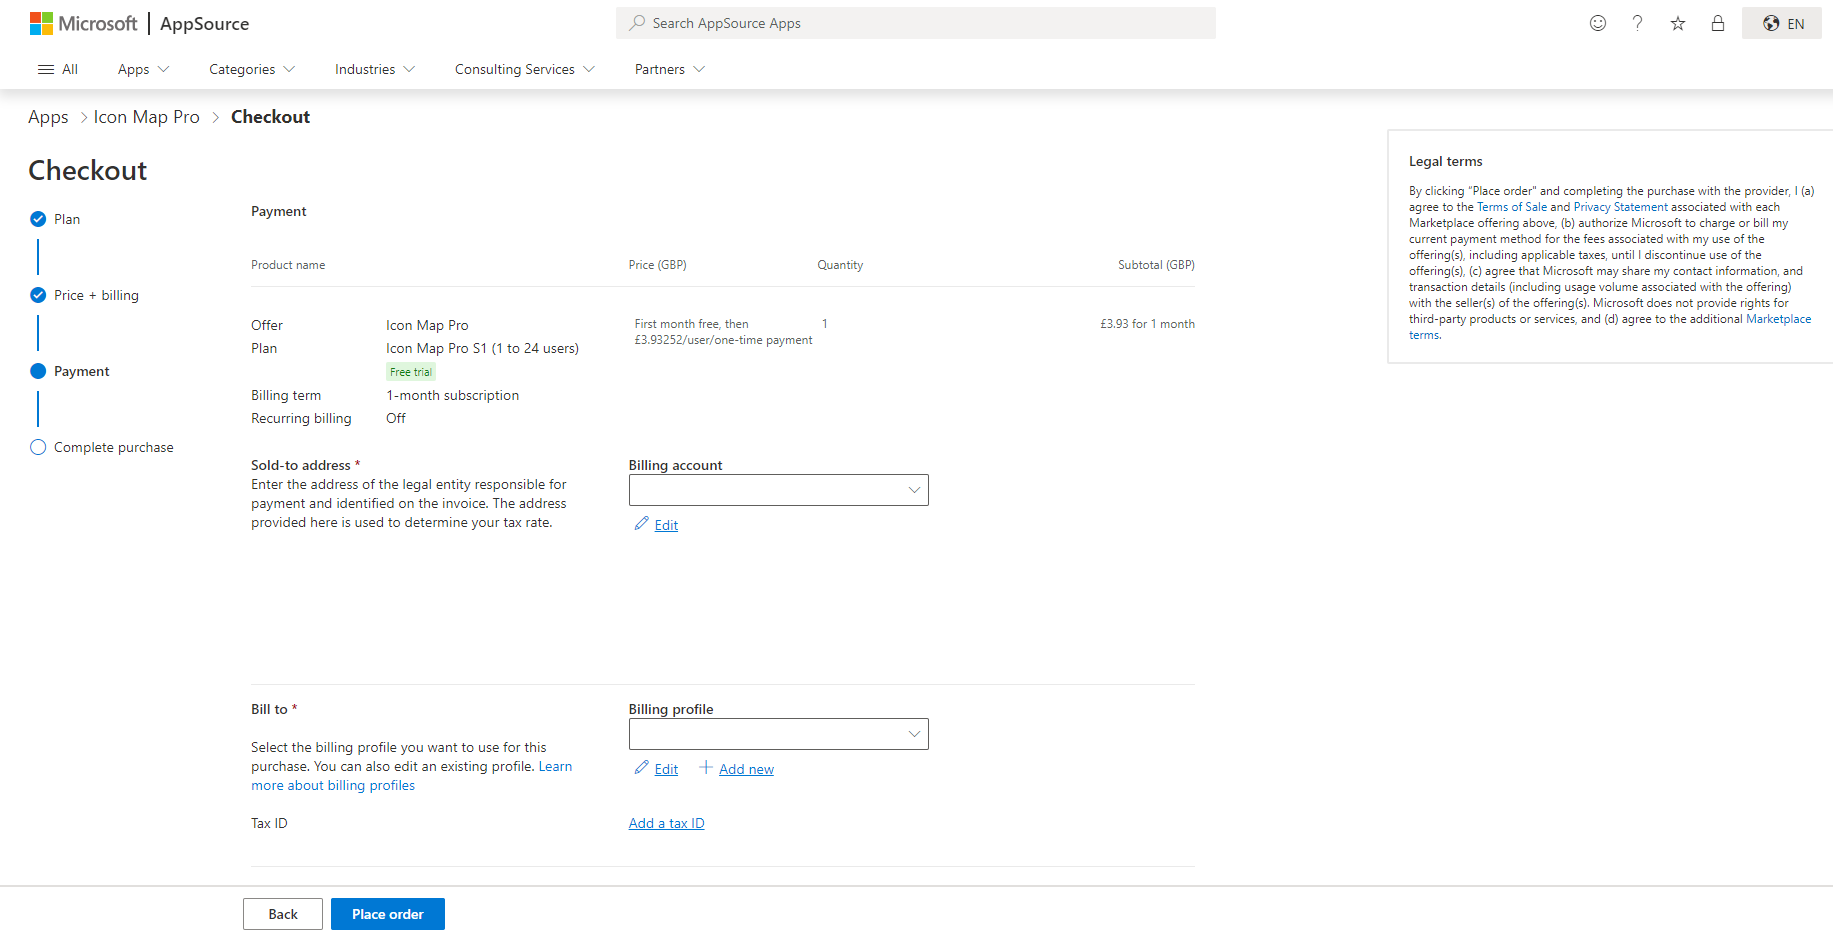
- Pay. Complete your payment details and select Place Order. The default payment method is credit card. Paying by invoice may be possible. See the Purchasing FAQ.
- Assign licenses. The confirmation page has an Assign licenses link to the Microsoft 365 admin center.
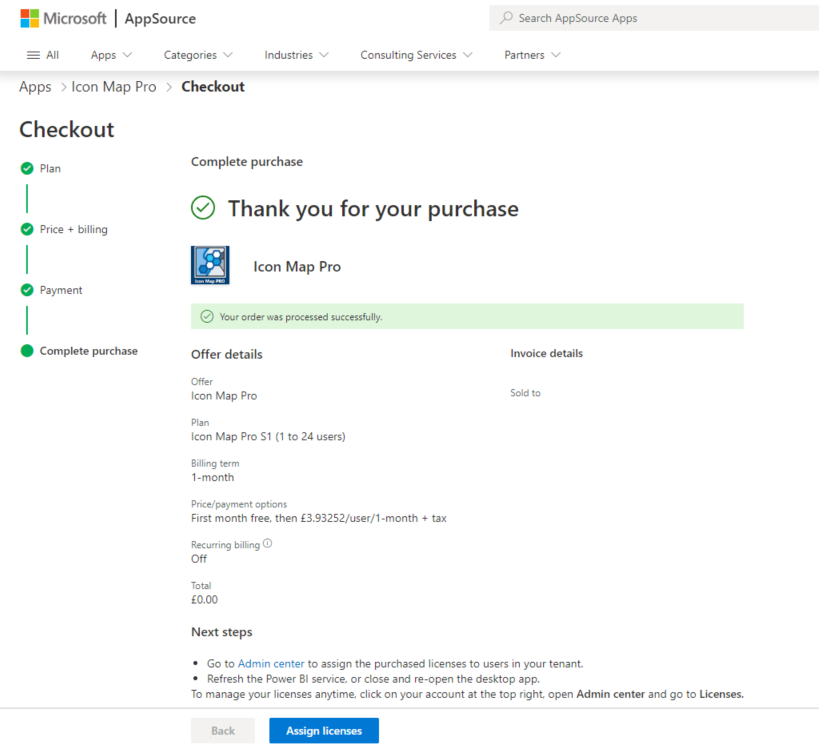
Assign licenses
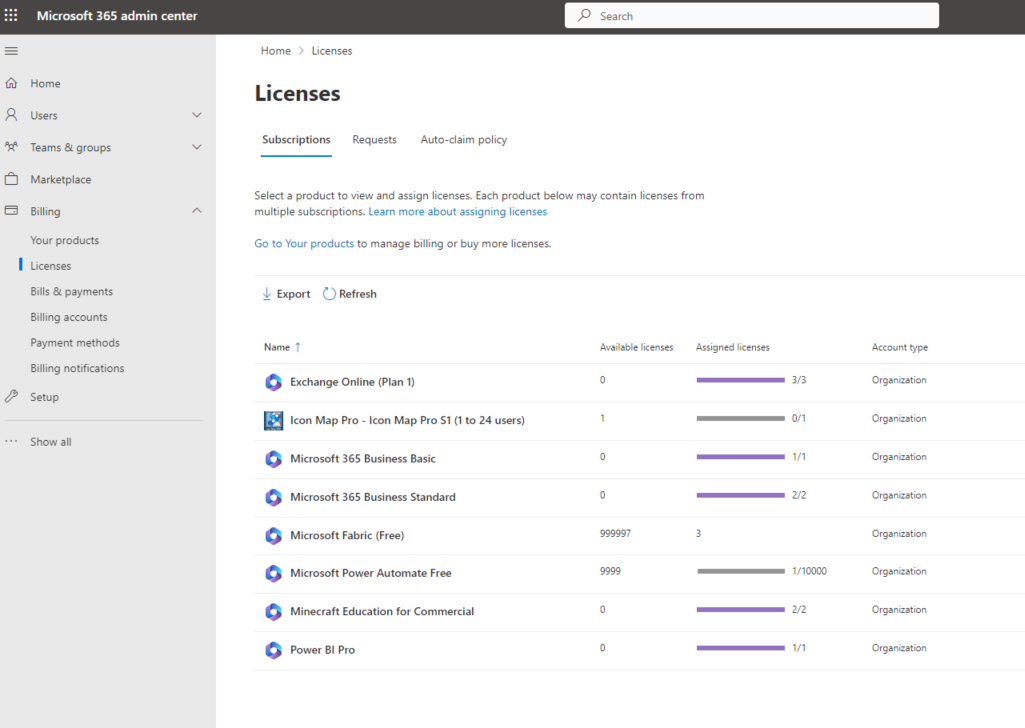
Licenses are assigned in the Microsoft 365 admin center. You may need an administrator to do this. The purchaser is assigned a license automatically.
- In the admin center, select the Icon Map Pro entry.
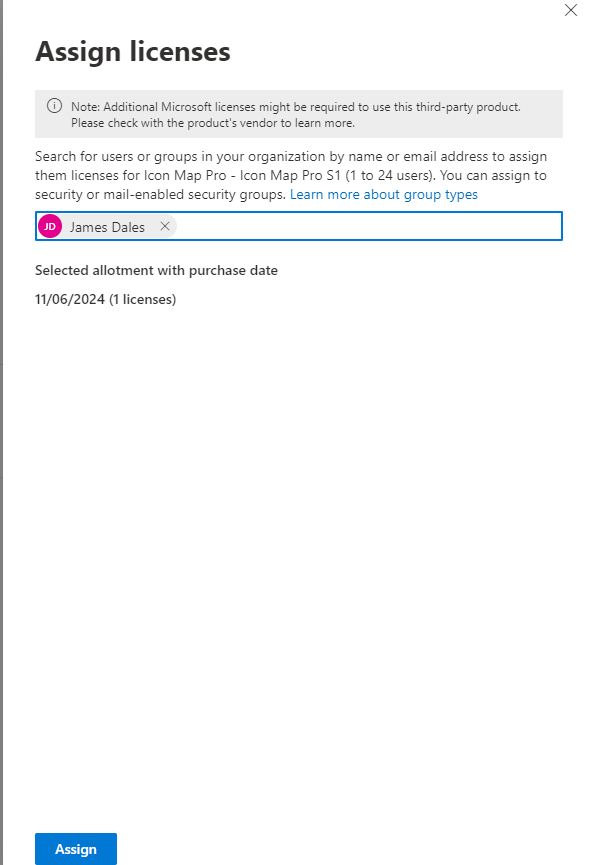
- Select Assign licenses.
- Enter the email addresses or group names to assign licenses to, then select Assign.
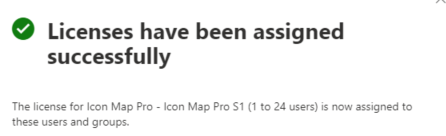
Once a license is assigned, you may need to restart Power BI Desktop, or sign out of and back in to the Power BI service.
After you buy
- Per user licenses need no key. The map appears for everyone with a license. If it does not, see License keys and activation.
- Usage-based, capacity and enterprise licenses come with a license key. See License keys and activation for where to find and enter it.